-40%
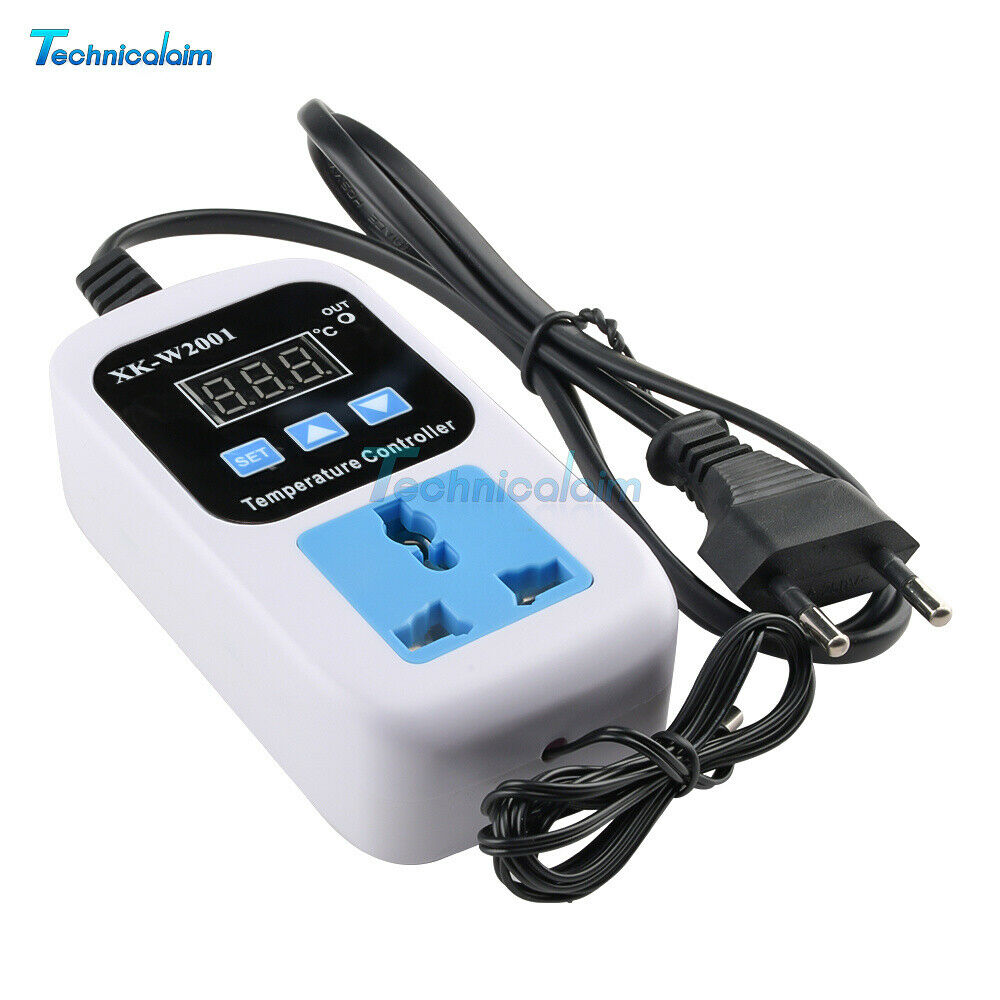
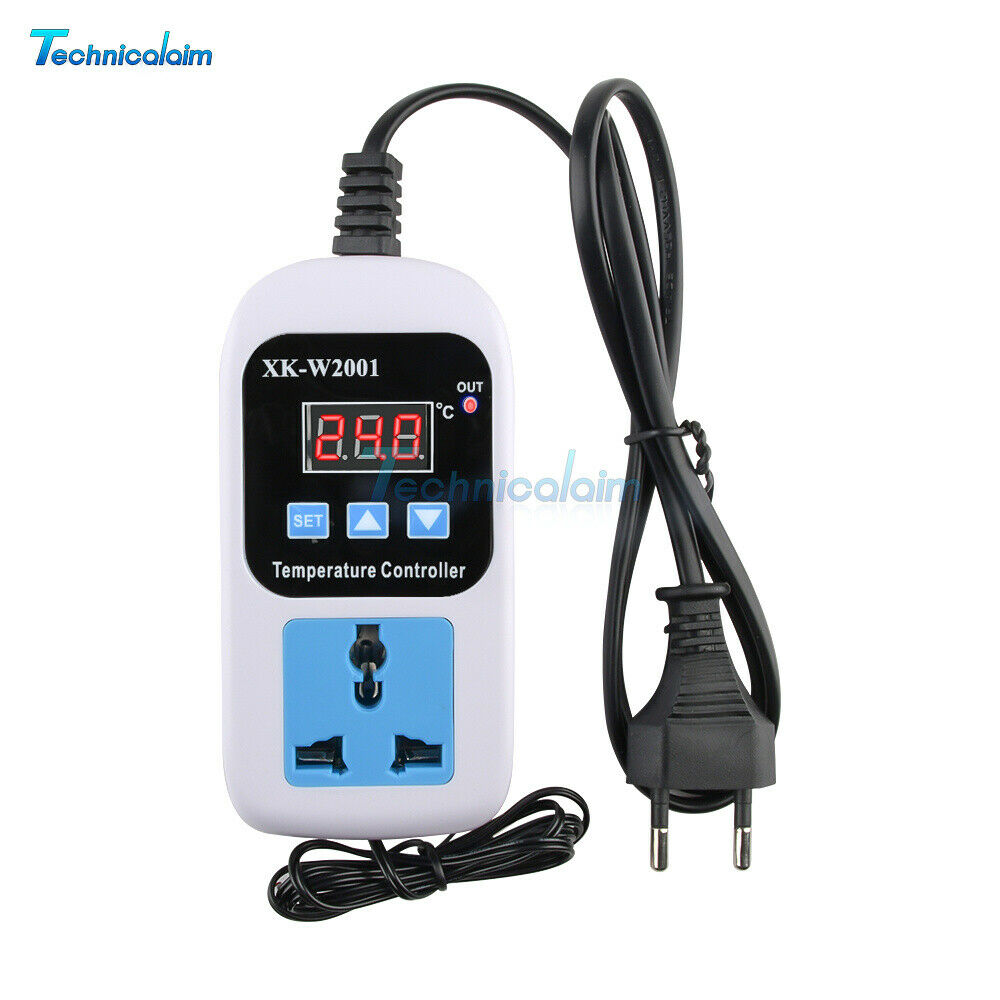
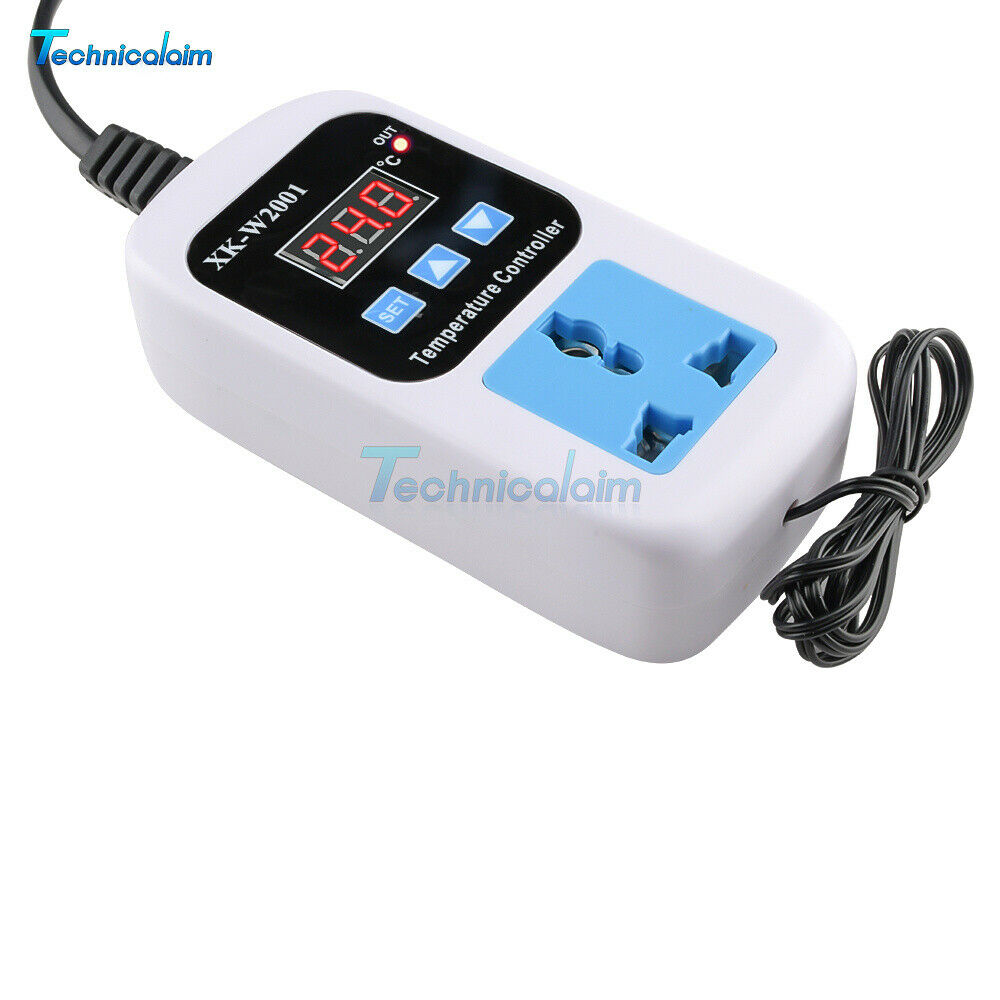
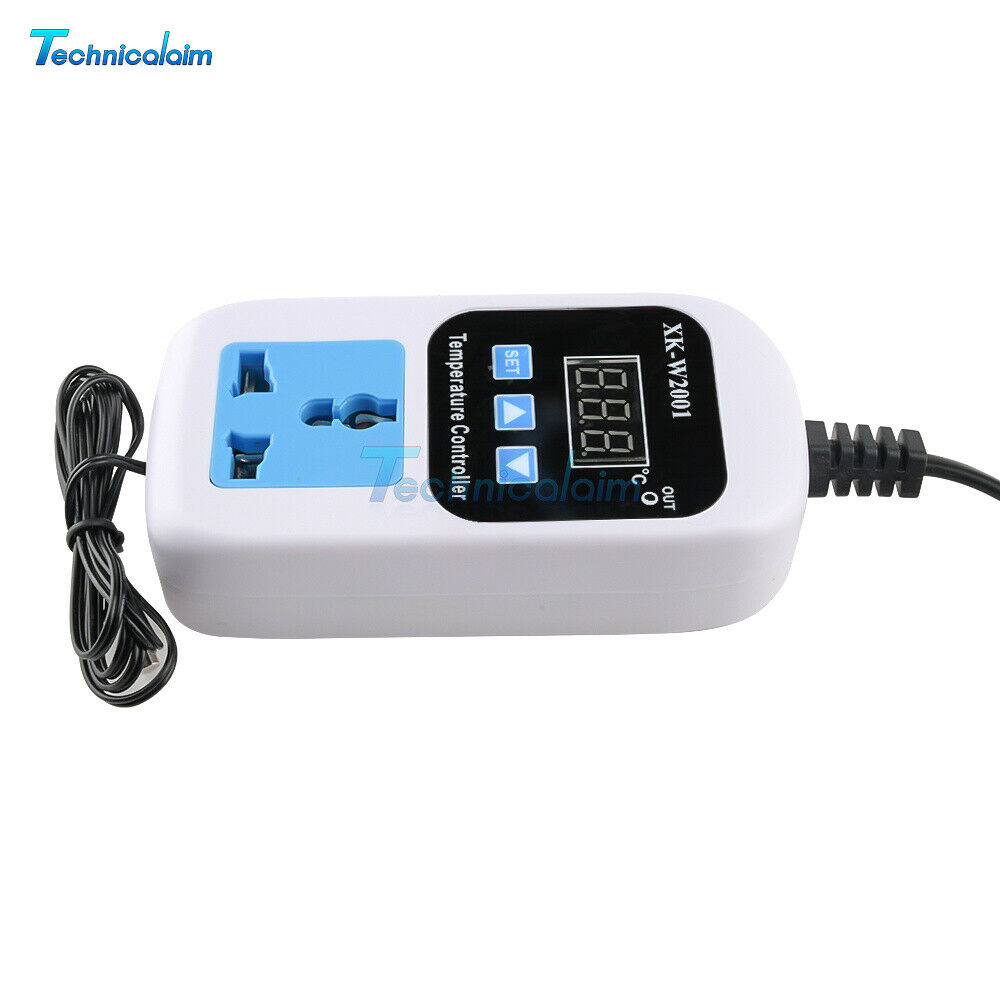
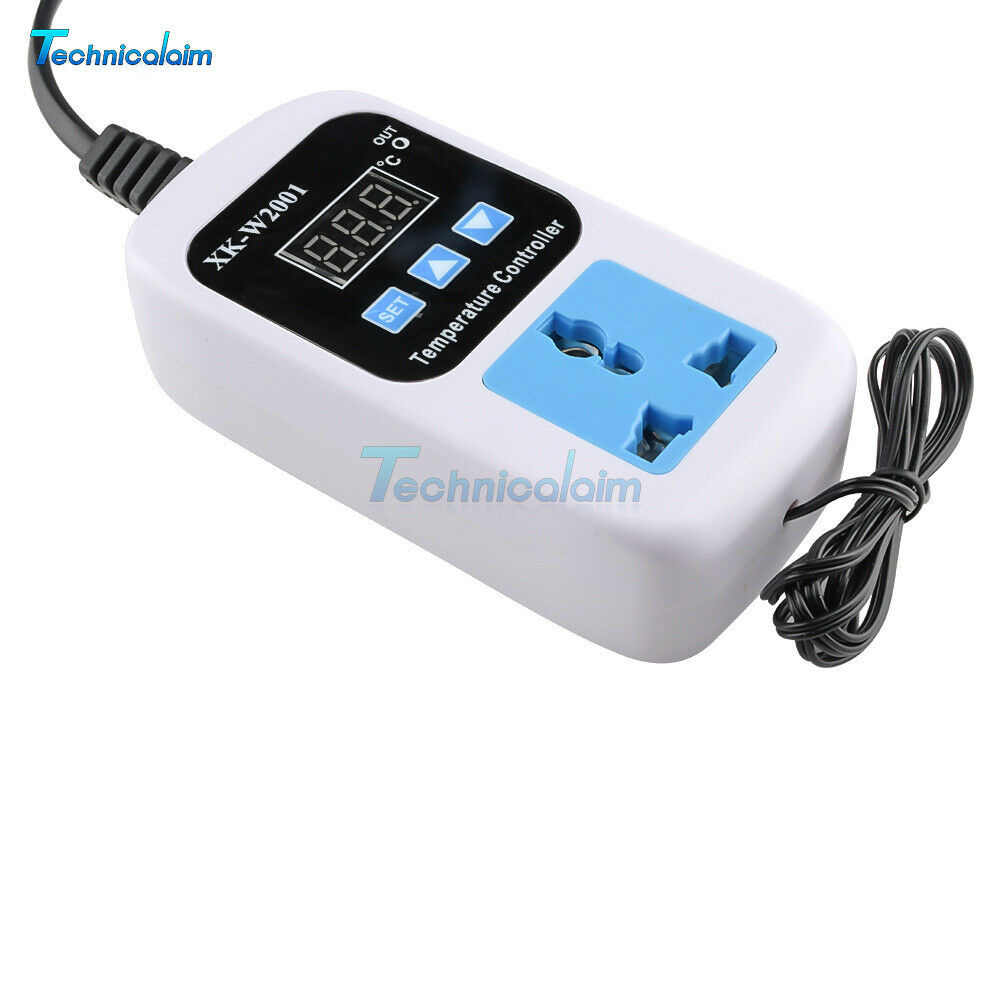
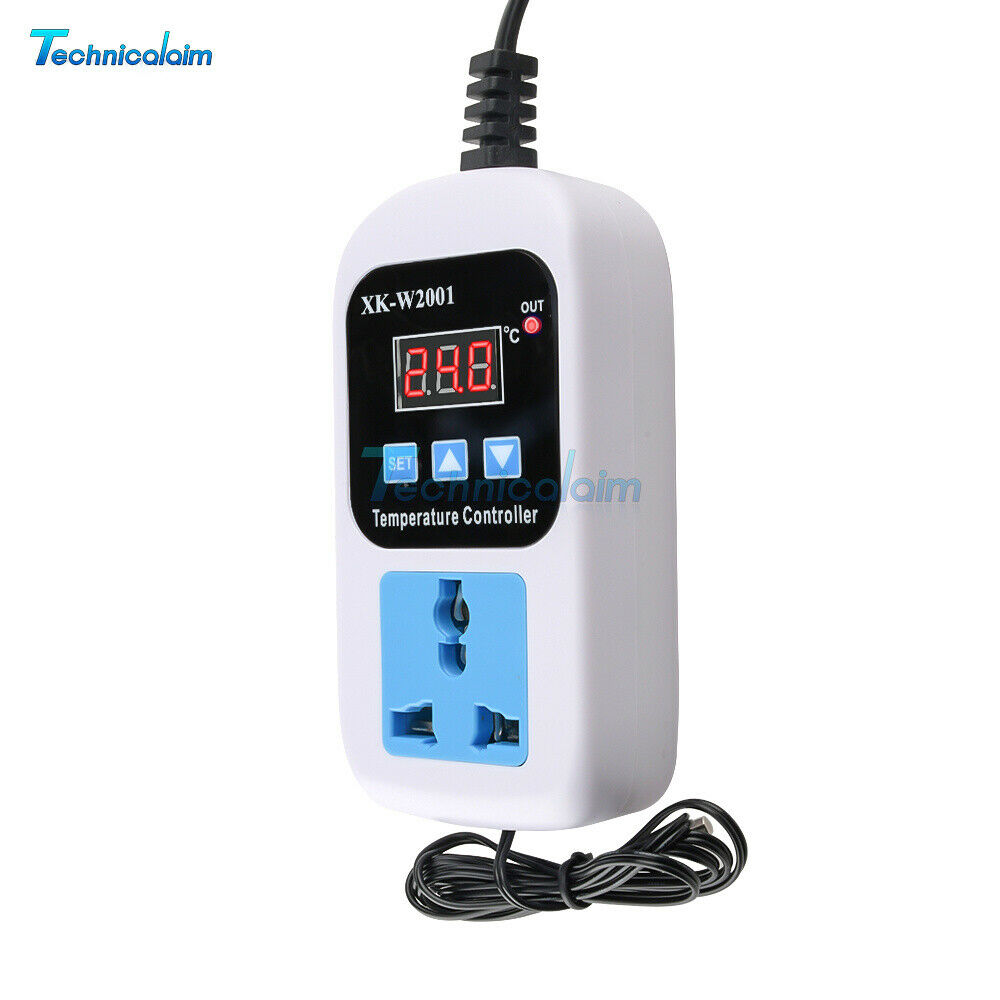
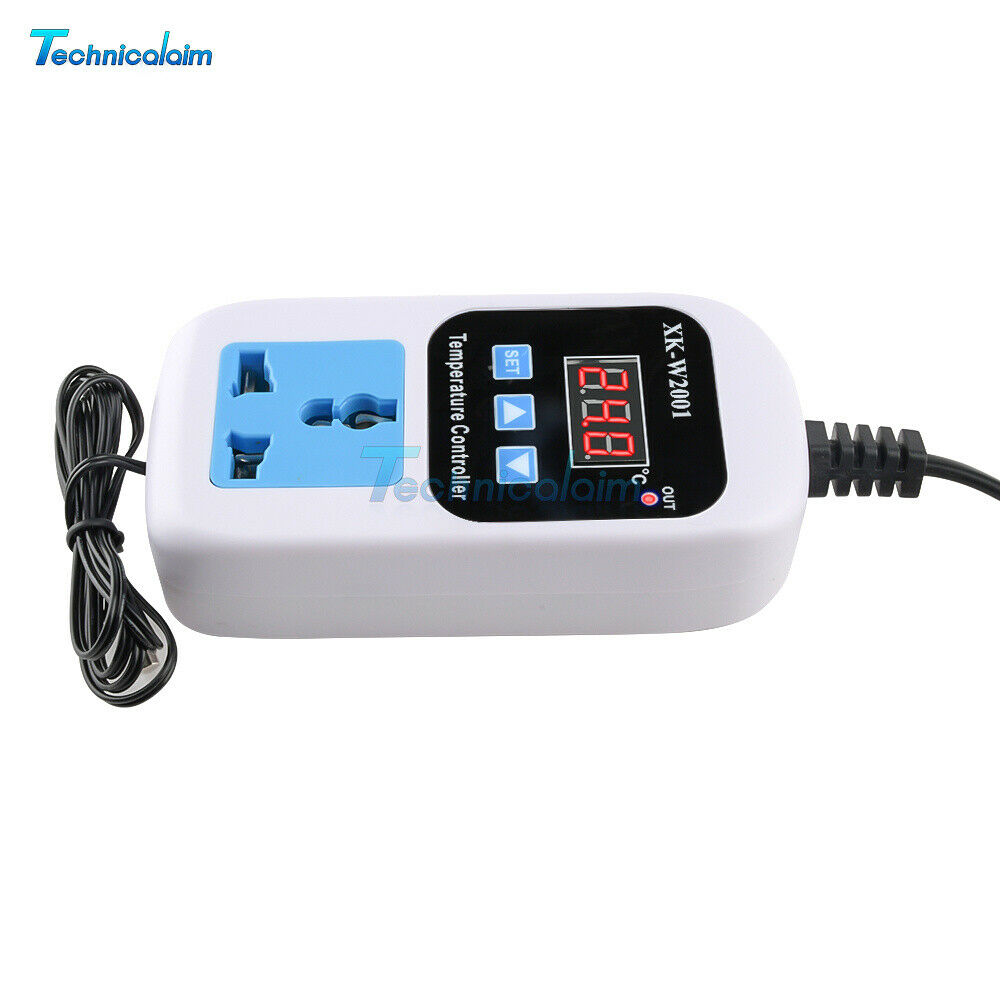
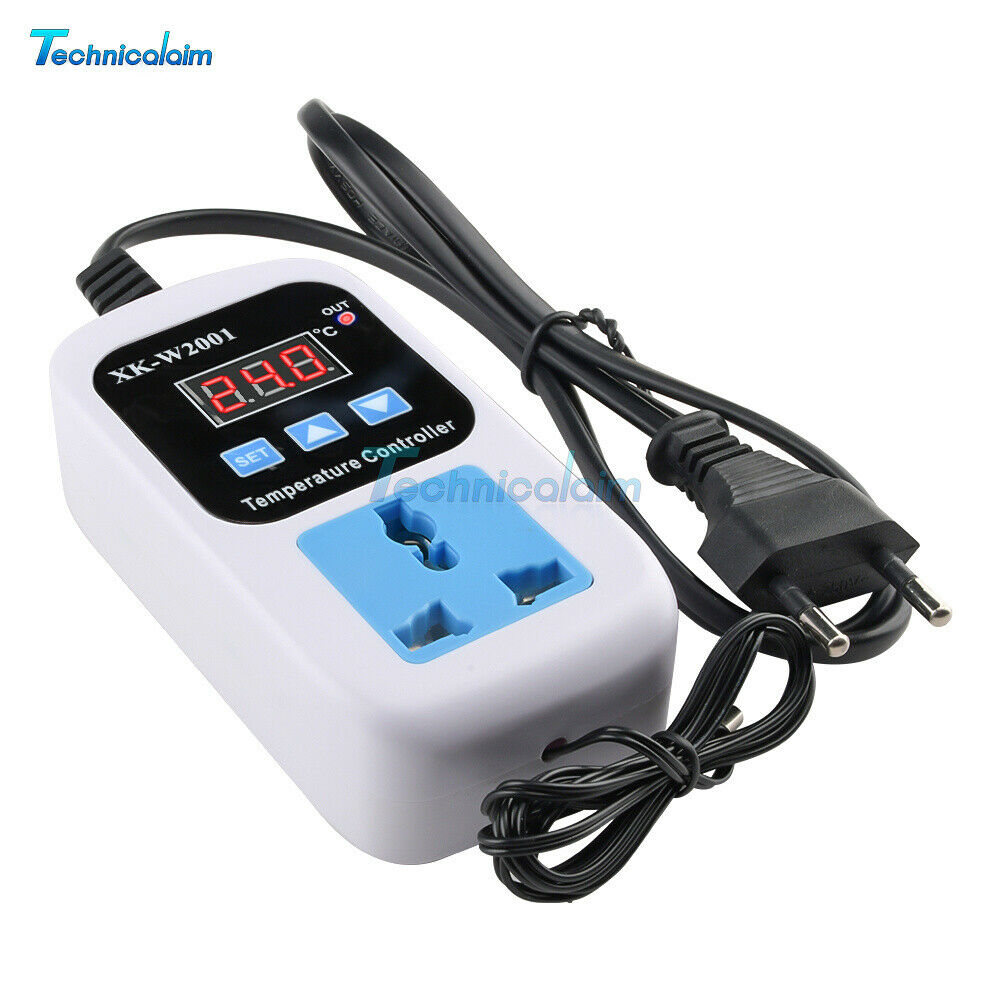
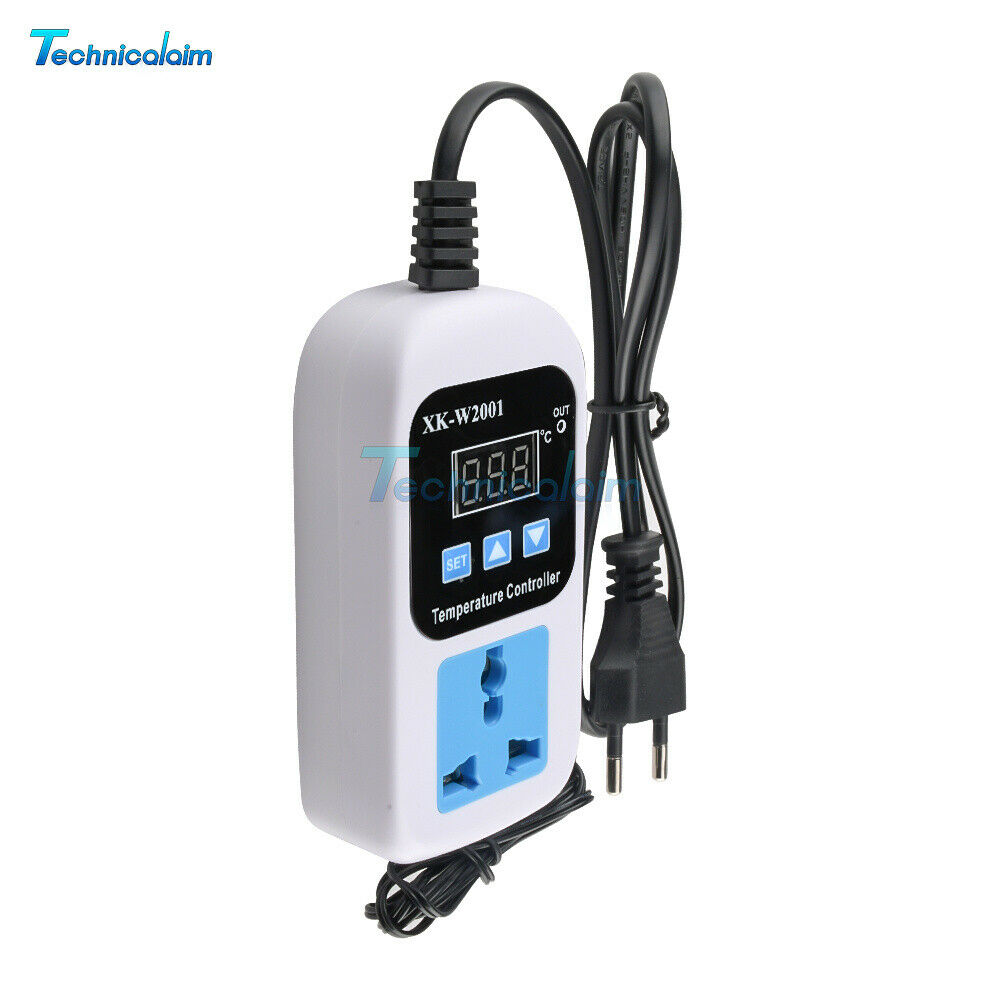
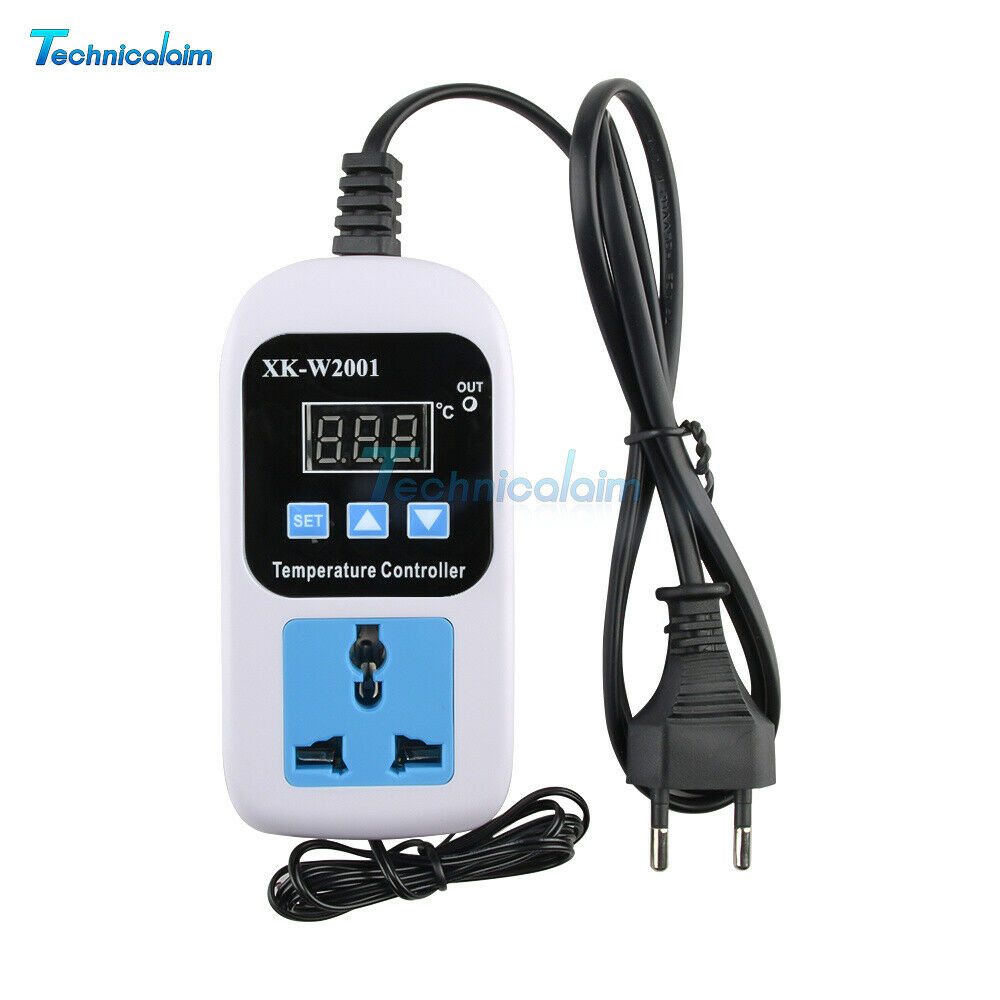
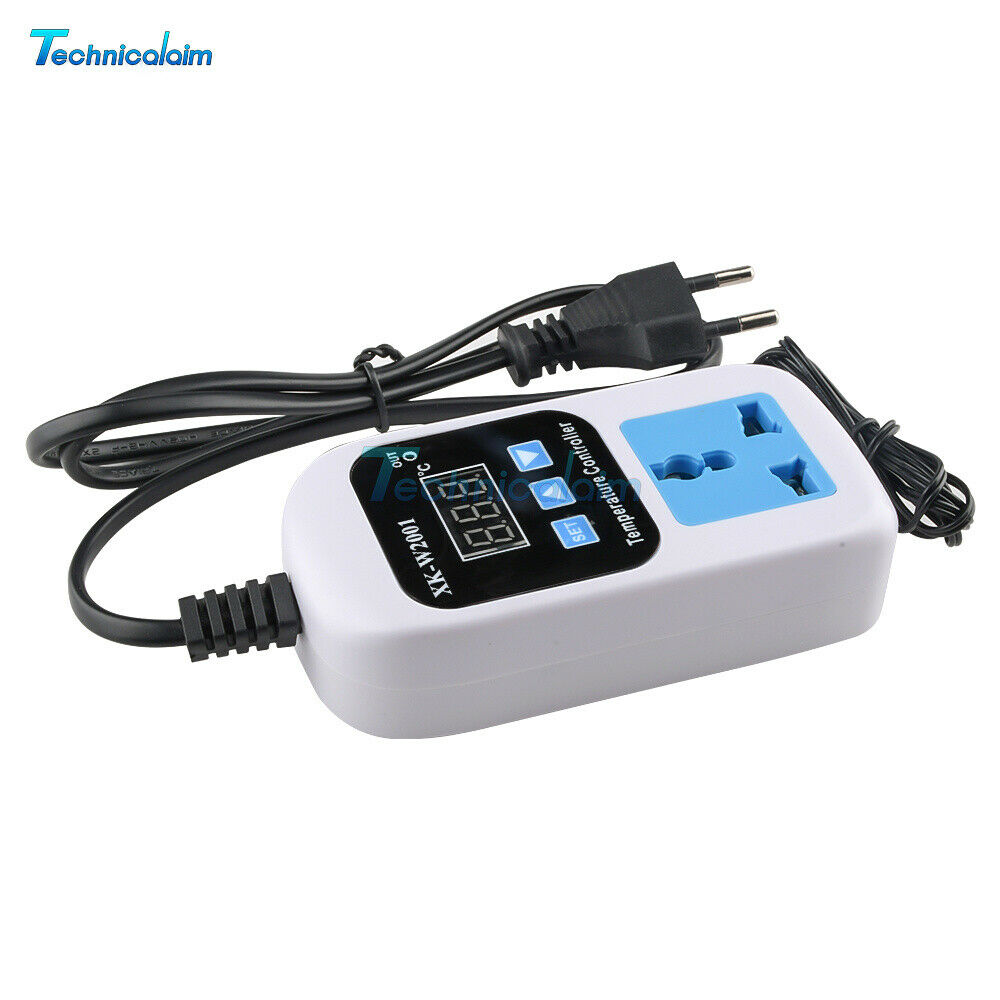
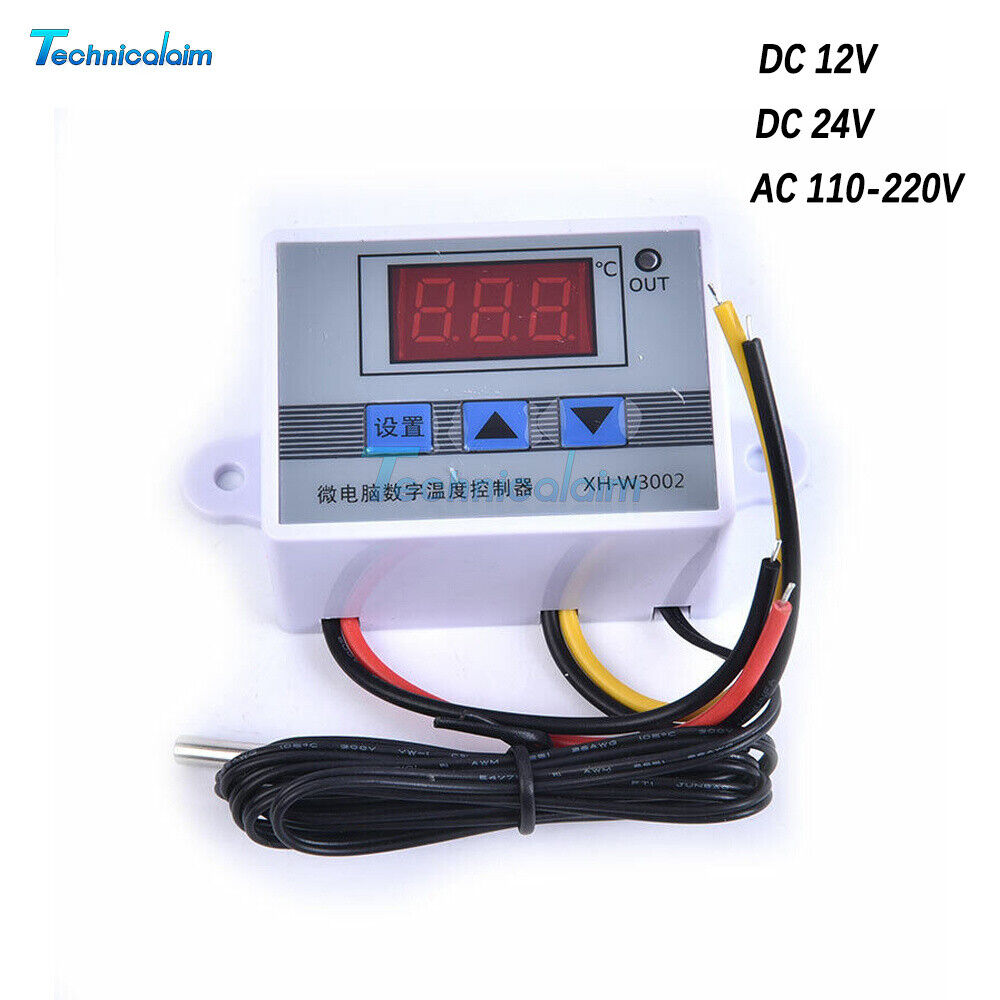
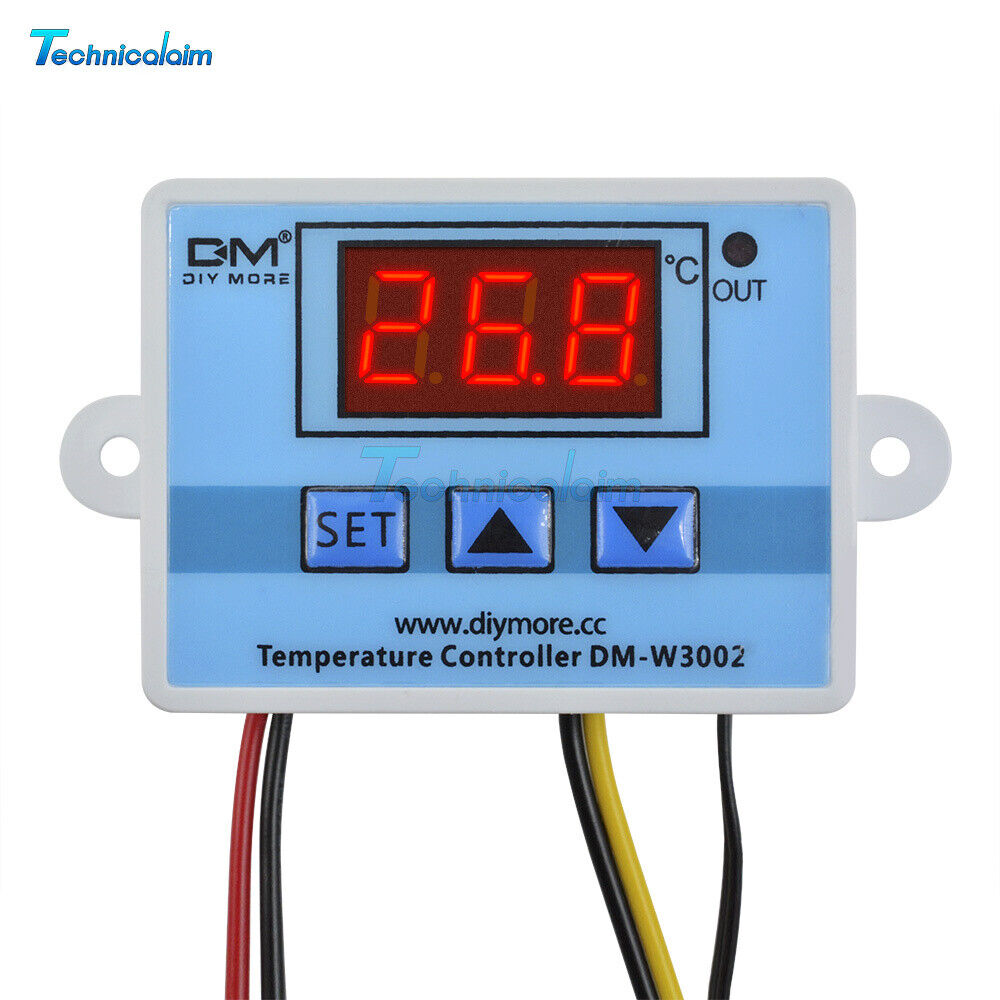
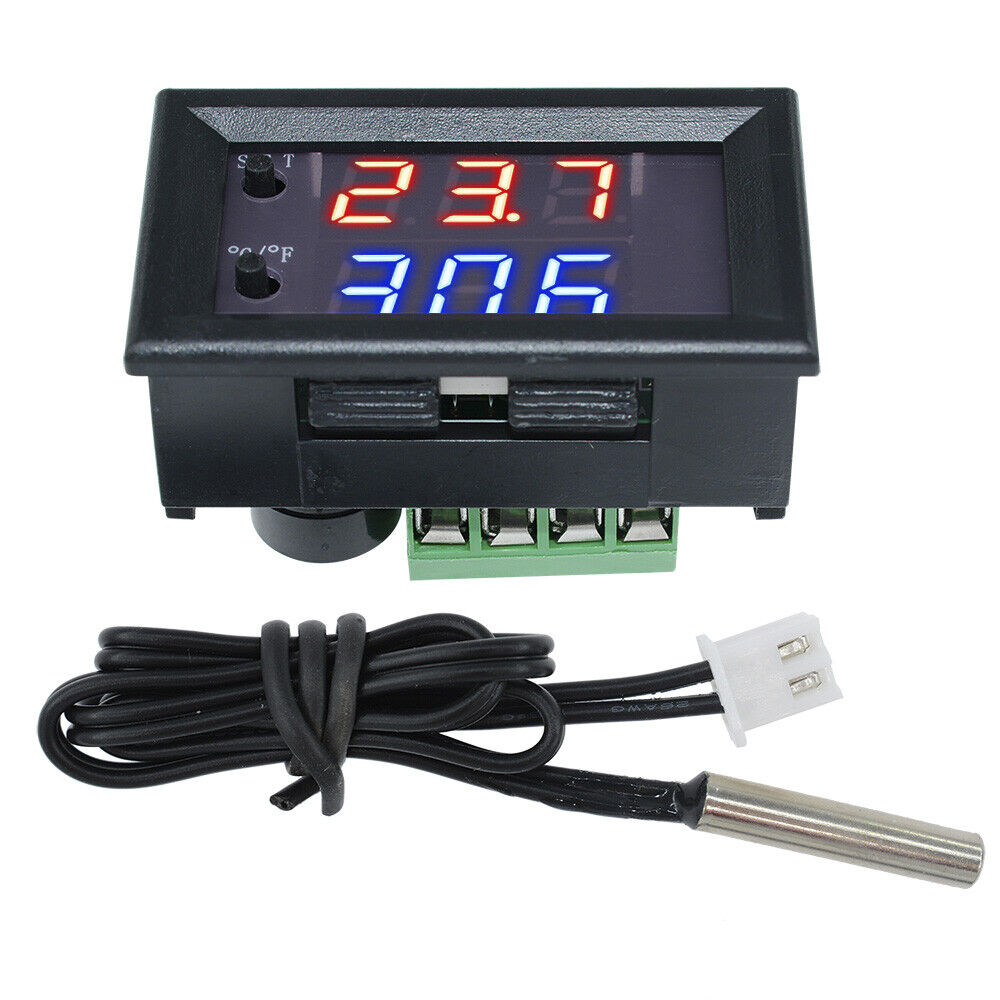
XK-W2001 Microcomputer Digital Temperature Controller 110-220V Red Display 1500W
€ 5.38
- Description
- Size Guide
Description
Sophisticated product, please handle with care; quality first, credit upmost;Your satisfaction is our pursuit;The strength of technology decide the quality of technology.                                        if you have any problem,pls contact with us.
XK-W2001 Microcomputer Digital Temperature Controller 110-220V Red Display 1500W
1: Widely used
2:Beautiful appearance
3:Convenient and simple
4: 1M waterproof cable probe
5: Easy to set up and understand
Specification
Product name:Microcomputer temperature controller
Temperature measuring range:-50~110~c
Temperature control range:-50~110℃
Temperature measurement accuracy:±0.2℃
Temperature control accuracy:±0.1℃
Measurement input: NTC10K L=1m waterproof probe
Input power:110V-220V
Output power:1500W
Output type:Direct output
Output capacity:max 10A
External dimensions:120*59*30mm
Code and function introduction
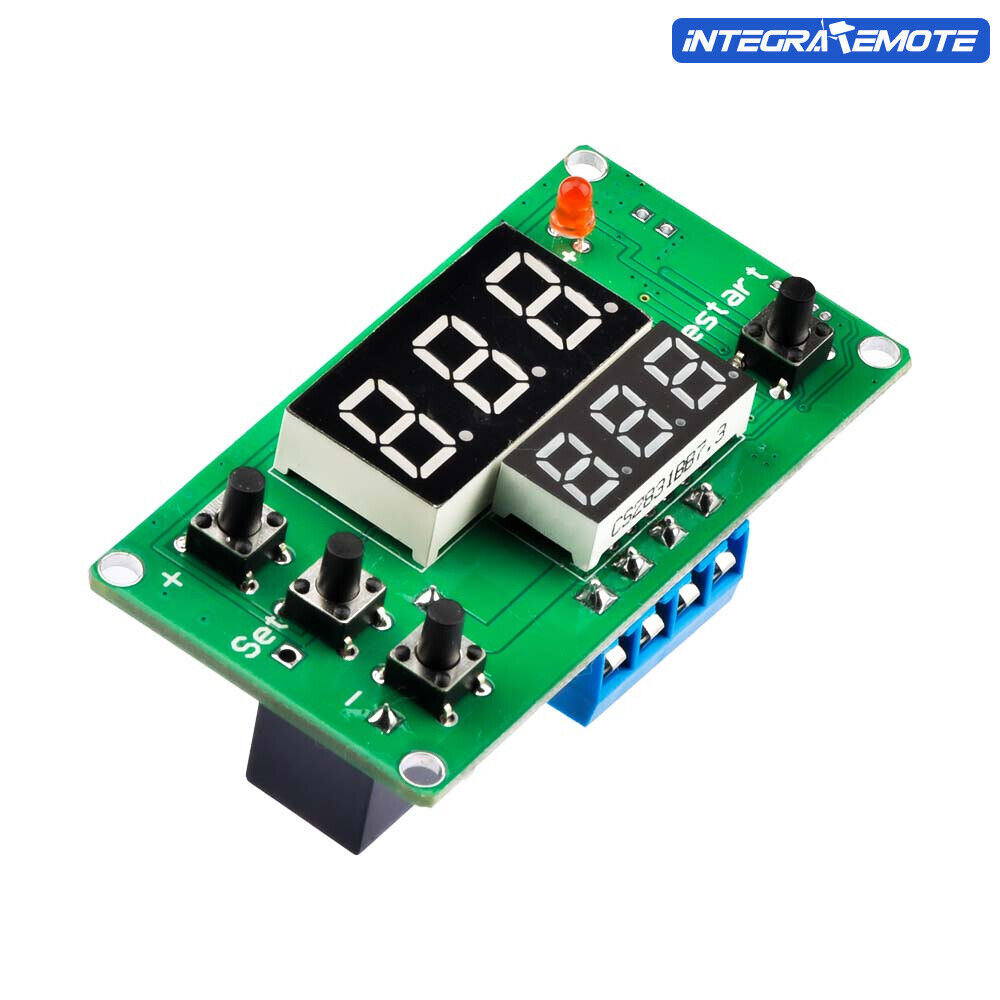
PO set start temperature
Press the set button to enter the internal menu, the default display is P0. Press the set button again to set the desired start temperature by pressing the up and down buttons.
P1 to set the stop temperature
Press the Set button to enter the internal menu, the digital display is P0, switch to P1 by pressing the up and down buttons, press the Set button again and set the desired stop temperature by pressing the up and down buttons.
P2 to set the temperature correction
Enter the internal menu in the same way, switch to P2 using the up and down buttons, press the set button again and set the desired calibration temperature using the up and down buttons. In the setting, if the detected temperature value is 0.5°C greater than the actual temperature value, then the desired calibration temperature is set to -0.5°C. If the detected temperature value is 0.5°C greater than the actual temperature value, then the desired calibration temperature is set to -0.5°C. If the detection temperature value is 1°C less than the actual temperature value, the calibration temperature to be set is 1°C. Detection temperature ± calibration temperature = actual temperature.
P3 Setting delayed start
Enter the internal menu in the same way, switch to P3 via the up and down keys, press the setting key again and set the desired delay time (in minutes) via the up and down keys. The delayed start is generally used for compressor cooling, if it is used for refrigerator freezer, this value needs to be set, depending on the size of the compressor back pressure the general setting value is 3-6 minutes, if you are not used to control the compressor or do not need the delay function, directly skip this item
Heating mode setting method
Setting key: start temperature < stop temperature (the program automatically determines the working mode as heating mode)
Setting method:
Press the set button to enter the internal menu and set the start temperature by setting the P0 value and the stop temperature by setting the P1 value.
Example of use:
Controlling the water heater, the heating stops at 50°C, the temperature drops back to 40°C and the heating starts again, how do I set it?
Step 1: Make sure the working mode is heating mode, start temperature < stop temperature
Step 2: Press the set button to enter the internal menu, select P0 and press the set button to set the P0 value to 40°C
Step 3: Press the set button to enter the internal menu, select P1 and press the set button to set P1 to 50°C
Cooling mode setting method
Setting key:Start temperature>Stop temperature (the program automatically determines the working mode as cooling mode)
Setting method:
Press the Set key to enter the internal menu, set the start temperature by setting P0 and the stop temperature by setting P1.
Use case:
To control a cabinet radiator, stop the radiator at 26°C and start the radiator again when the temperature rises to 30°C. How do I set this?
Step 1: Make sure the working mode is cooling mode, start temperature > stop temperature
Step 2:Press the set key to enter the internal menu, select P0 and press the set key to set the P0 value to 30°C
Step 3: Press the Set button to enter the internal menu, select P1 and press the Set button to set P1 to 26°C.
Tip:
When setting the heating mode, if the set temperature value is reversed accidentally, the output indicator will not light up and the load will not work, if the above situation occurs after setting, you can check if the set temperature value is reversed
List
1 x Temperature controller
Shipping
Feedback
Payment
Return policy
Contact us
Shipping
1.We only ship to the confirmed address provided by eBay. please make sure your ebay address is 100% matches the address you would like us to ship to. If not, please let us know before we sent you the package, or we will not be responsible for any loss. hope you could understand.
2.Orders will be processed instantly and dispatched within 1-2 business days except hoilday, so we do NOT accept any email/message note after you place orders.
3.
All package need to
wait 30 days
,
Please take care it.Less than 30 days,we can't take a refund
.
Feedback
1.We greatly appreciate your POSITIVE feedback. Please do NOT leave negative feedback without asking for help.
2.Please DON'T leave negative or neutral feedback if you haven't received item in 30 days, because we have mentioned the shipping time repeatedly.
Payment
1.We accept PayPal payment ONLY, and must be received within 5 days from the date of purchase.
2. It is easy and safe for you to pay by credit cards, debit cards, bank transfers and PayPal account balances.
3.Buyers
are responsible
for import duties,custom fees and taxes, if any, please check your country.
Return policy
1.We believe our items are so outstanding. We are convinced you will be happy with your Purchase.
2. If you do not satisfy with our items. Please simply return to us within 30 Days in original condition. Just pay for the returned postage. Then we can issue full refund or resend the item to you after the returned item arrived at our warehouse.
3. Please include your eBay ID and item number with any email requests.
Contact us
1. If you have any questions, please feel free to email our service specialists.
2.Just contact us using the " Ask the seller a question" link on eBay.
3.Our aim is to provide Top Level Customer Service, normally so we will try our best to solve any problem.
Am 24.02.22 hat der Verkäufer die folgenden Angaben hinzugefügt:
