-40%
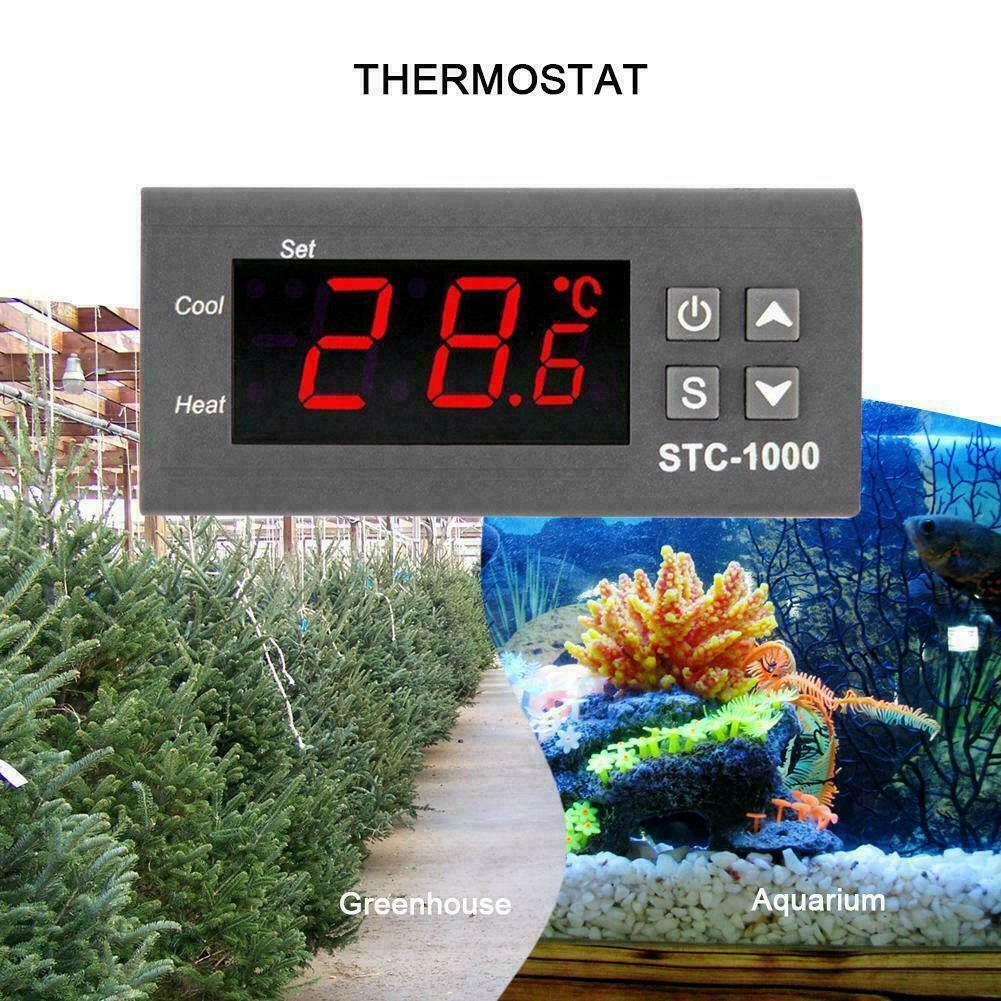
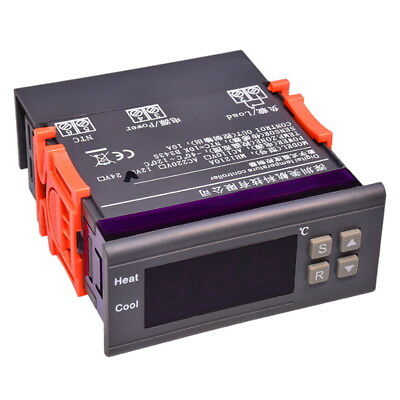
110-230V 10A Aquarium Temperature Controller 6-Channel Relay Timing Reservation
€ 13.45
- Description
- Size Guide
Description
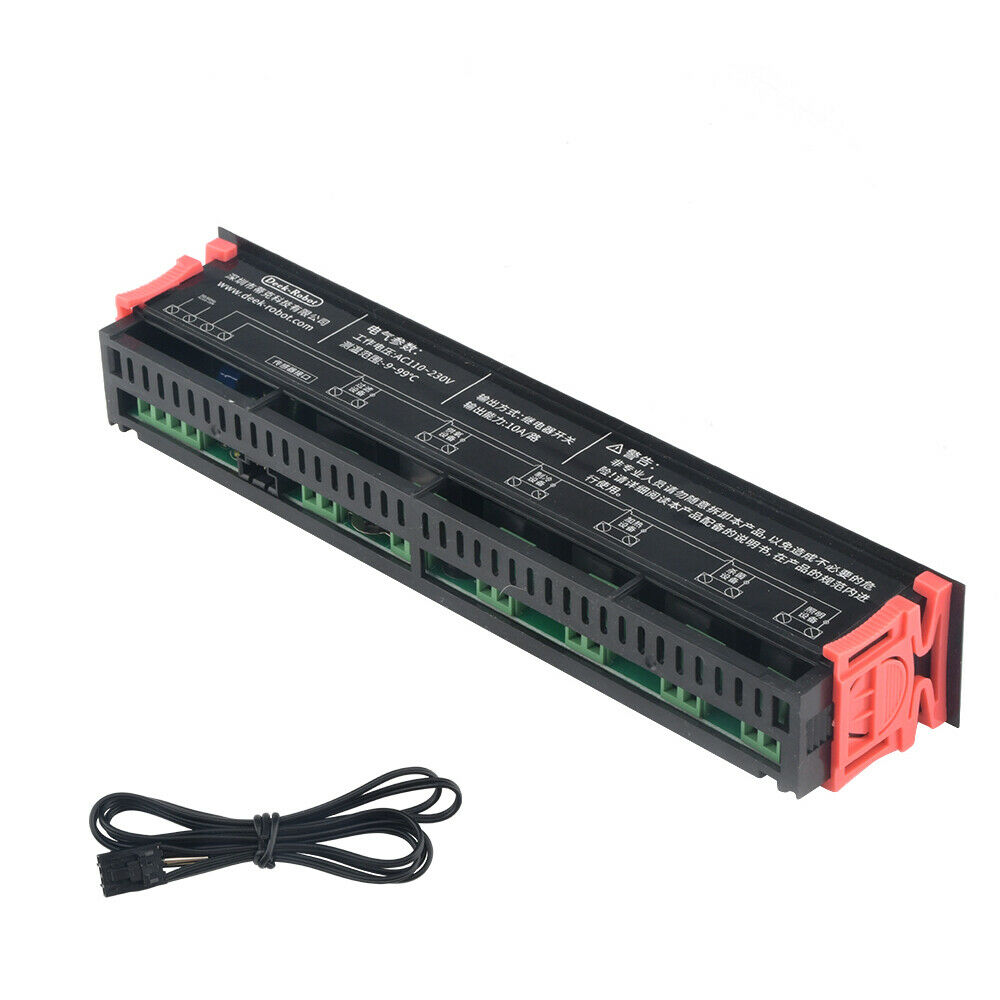
110-230V 10A Aquarium Temperature Controller 6-Channel Relay Timing ReservationProduct selling points:
Wide voltage adaptation range 110-230v wide voltage available
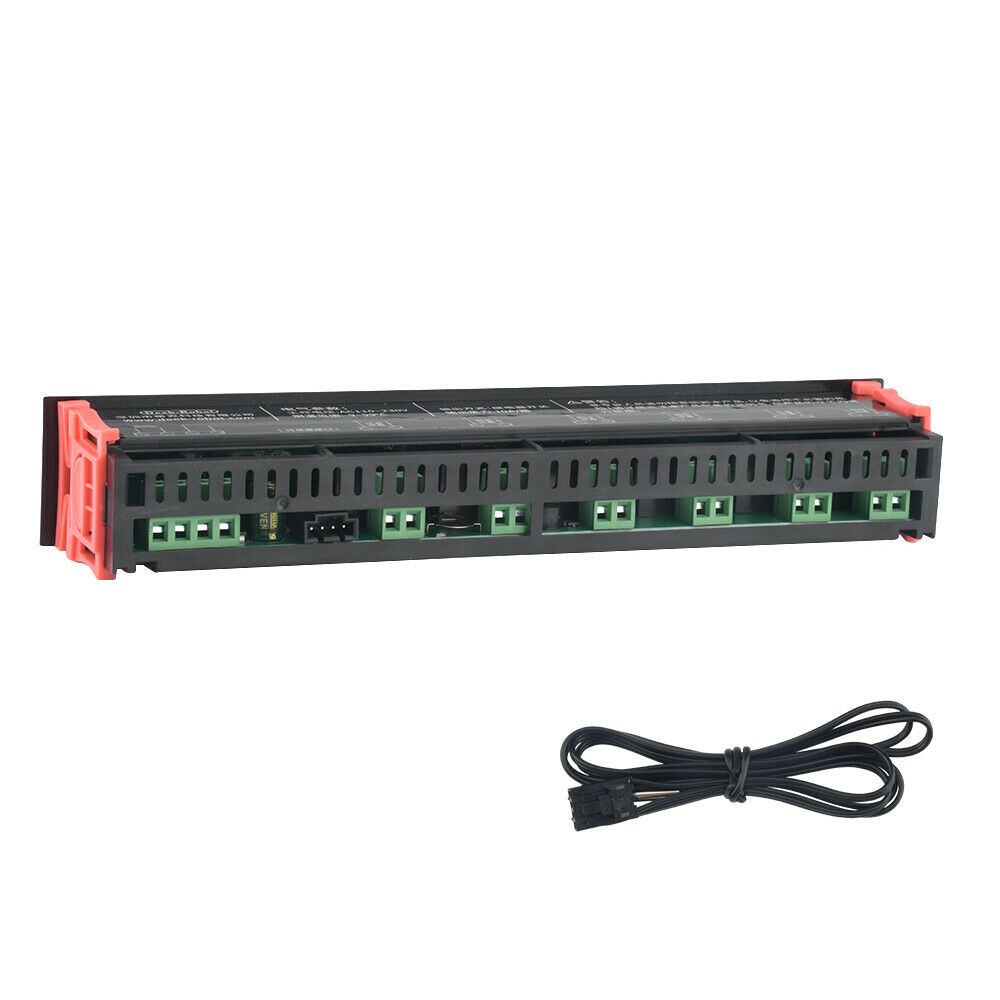
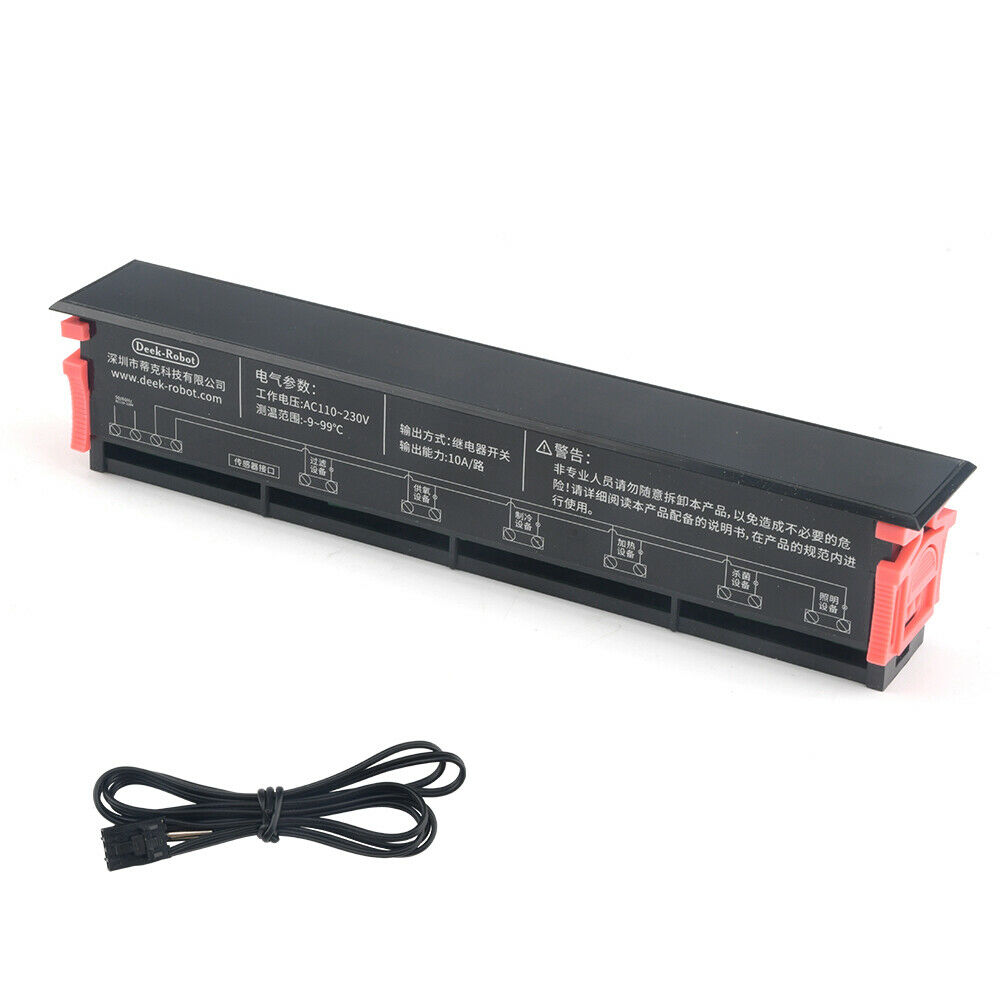
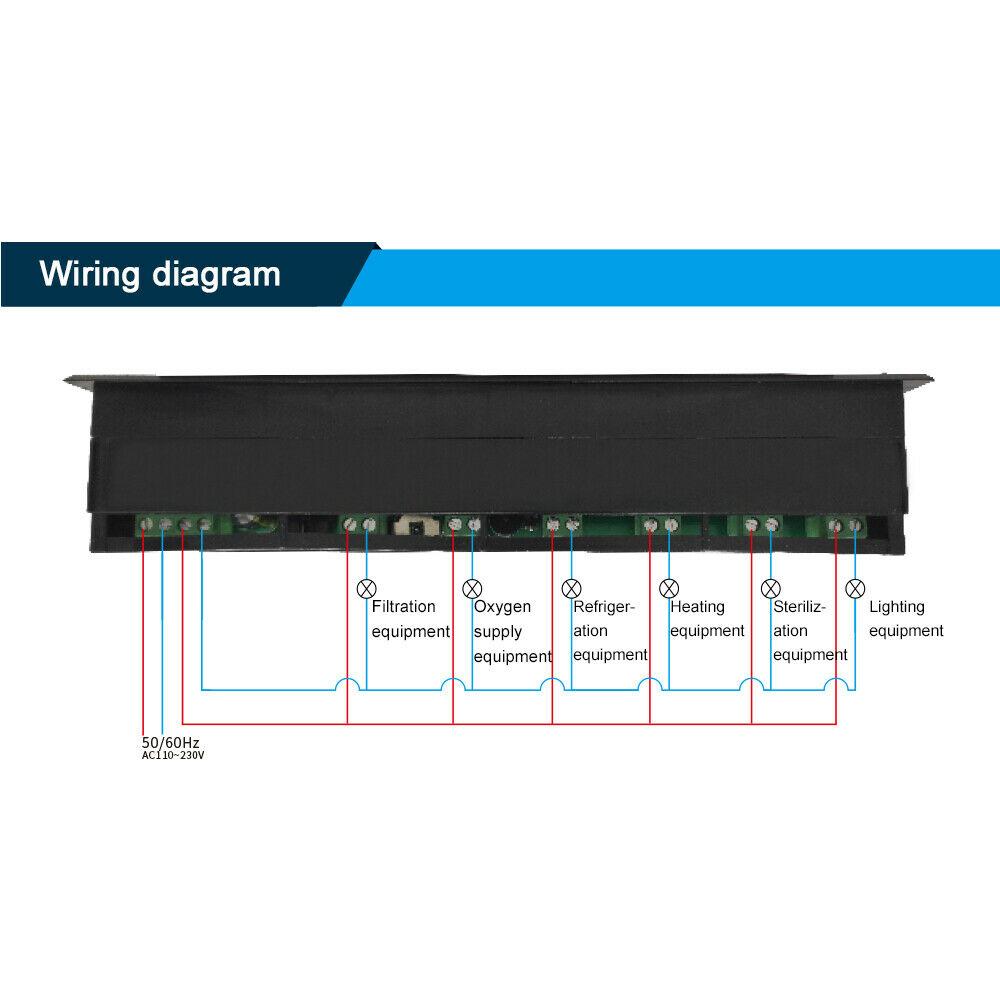
Wide output range, 6-way relay output
Heating module refrigeration module dual function
More accurate temperature calibration function
Six modules are more convenient to use
Main parameters:
Product Name: Aquarium controller
Working voltage: ac110 ~ 230V, 50 / 60Hz
Temperature measurement range: - 9 ~ 99 ℃
Measurement accuracy: ± 1 ℃
Display accuracy: ± 1 ℃
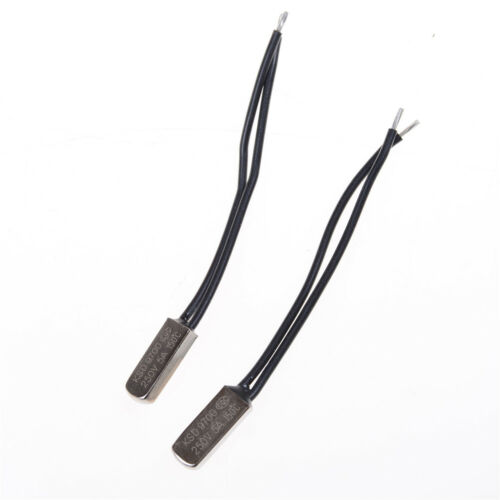
Sensor wire length: 1m
Output mode: 6-way relay output
Output capacity: 250VAC / 10A
working principle:
Heating and cooling function
Start heating when the set temperature is greater than the real-time temperature; When the set temperature is less than the real-time temperature, start refrigeration.
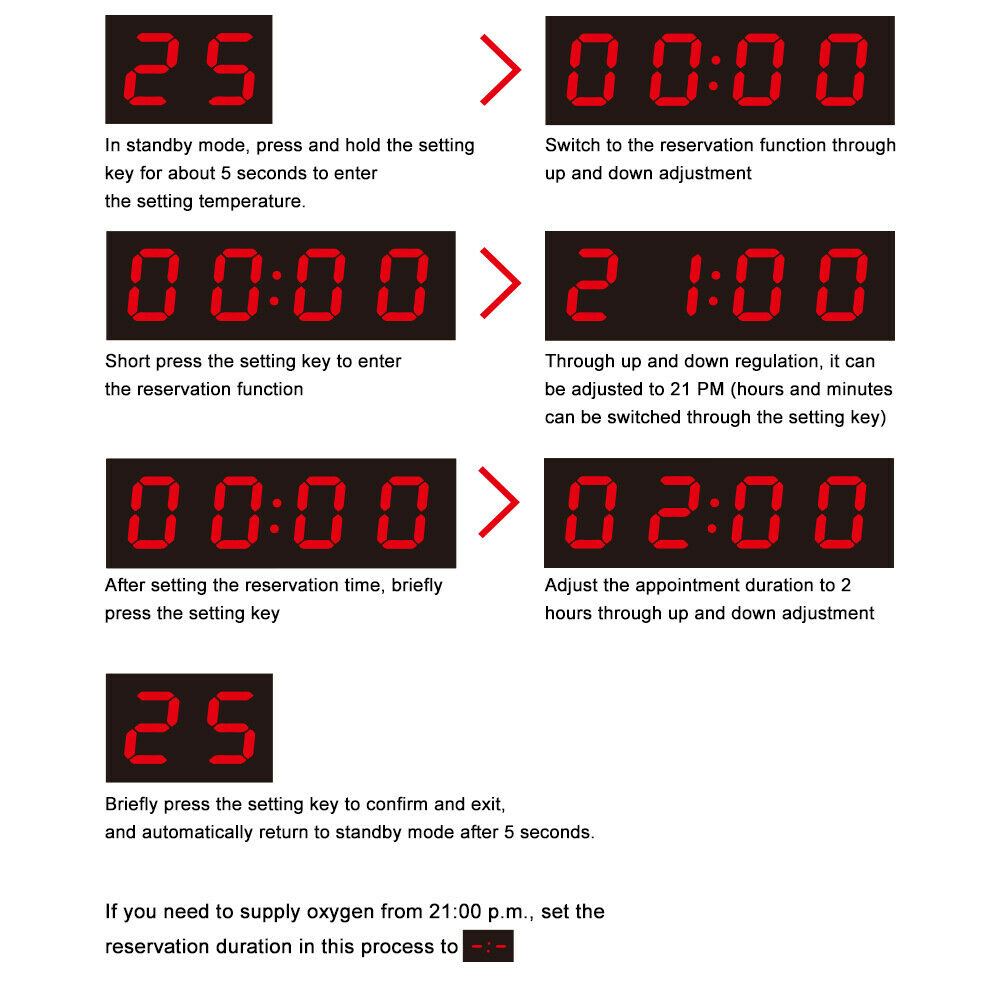
Timing and reservation functions
The timing function starts the oxygen supply from the current time after the timing is turned on, and stops the oxygen supply after the work reaches the set time; The reservation function starts the oxygen supply from the reservation time after the reservation is opened, and stops the oxygen supply after the work reaches the set time.
Return difference
In the heating mode, if the temperature is set to 30 ℃, the return difference is set to 5 ℃. Start heating when the real-time temperature is less than the set temperature. Because of the set return difference, when the real-time temperature is less than 25 ℃, start heating, and stop heating when the real-time temperature is greater than 30 ℃.
In the refrigeration mode, if the temperature is set to 25 ℃, the return difference is set to 5 ℃. When the real-time temperature is greater than the set temperature, start refrigeration. Because of the set return difference, when the real-time temperature is greater than 30 ℃, start the refrigeration, and when the real-time temperature is less than 25 ℃, stop the refrigeration.
Operating instructions
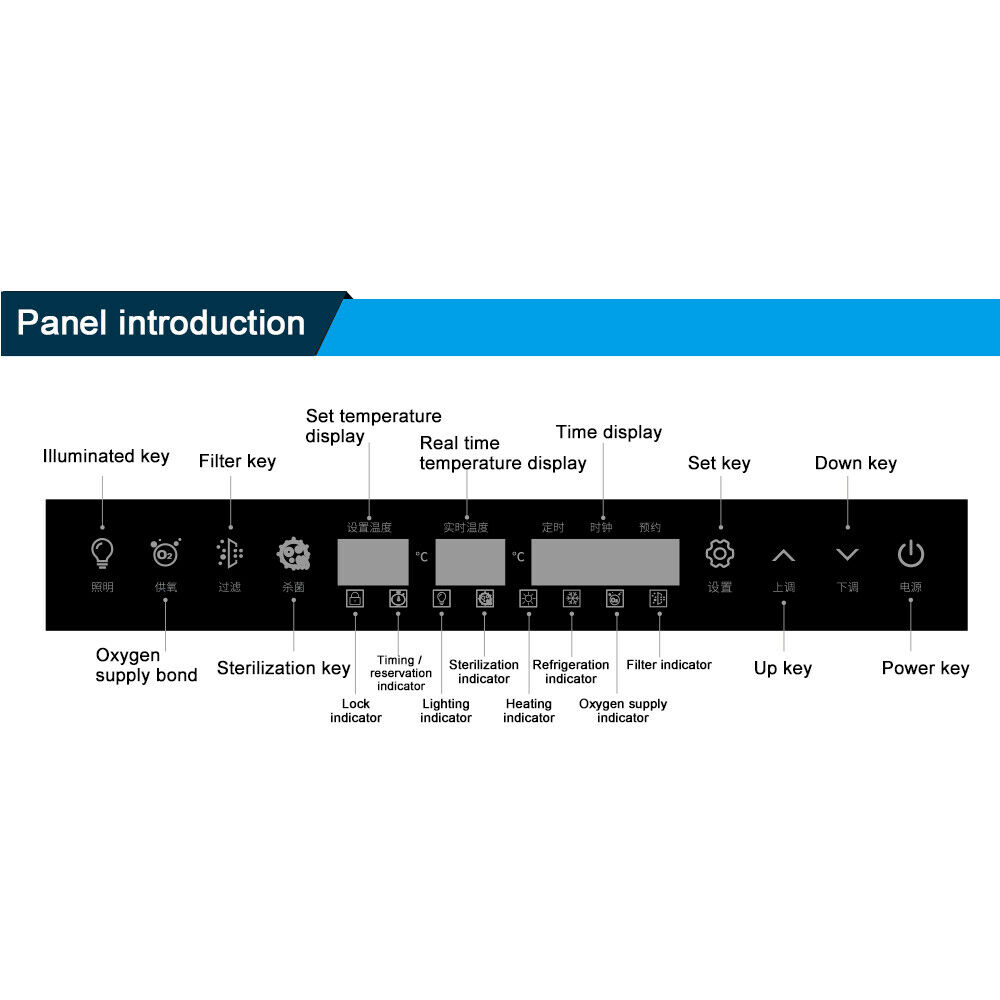
Lighting: press briefly to start lighting; Press briefly again to stop the lighting.
Filtering: press briefly to start filtering; Press briefly again to stop filtering.
Sterilization: press briefly to start sterilization; Short press again to stop sterilization.
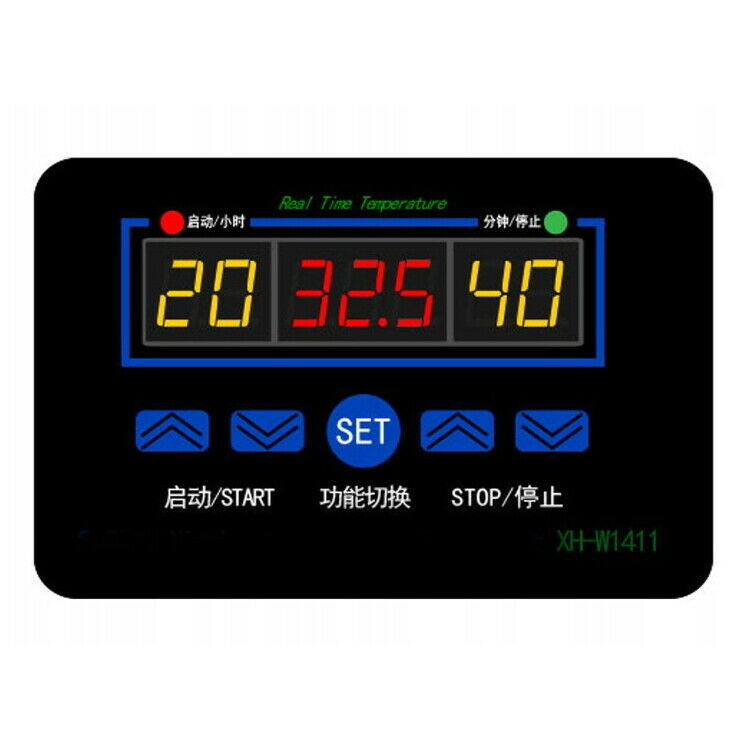
Heating and cooling: in standby mode, long press the setting key, short press the setting key again, and then adjust the setting temperature by up and down. After adjustment, short press the setting key to set the return difference, adjust the return difference by up and down, and then short press the setting key again to exit.
Timing and reservation function: in standby mode, long press the setting key, and then switch to the timing function through up and down adjustment. First, briefly press the setting key, and then adjust the required timing time through up and down regulation. After the adjustment is completed, briefly press the setting key to confirm, and then start the oxygen supply. To stop oxygen supply, briefly press the oxygen supply key again.
Clock: in standby mode, long press the setting key, and then switch to the clock function through up and down adjustment. Briefly press the setting key first, and then adjust and adjust the calibration clock. After completion, briefly press the setting key to confirm.
Lock: after the standby time exceeds 30 seconds, the panel will automatically lock and can be unlocked by pressing the setting key for two times.
Power supply: in standby mode, short press to turn off the display and backlight, and the work indicator will not turn off; Short press again to open.
Temperature calibration: in standby mode, long press the setting key to switch to real-time temperature through up and down regulation, then short press the setting key to enter temperature calibration, and then calibrate through up and down regulation. After completion, short press the setting key.
Restore factory settings: in standby mode, press and hold the power key for 10 seconds to restore factory settings.
Operation example
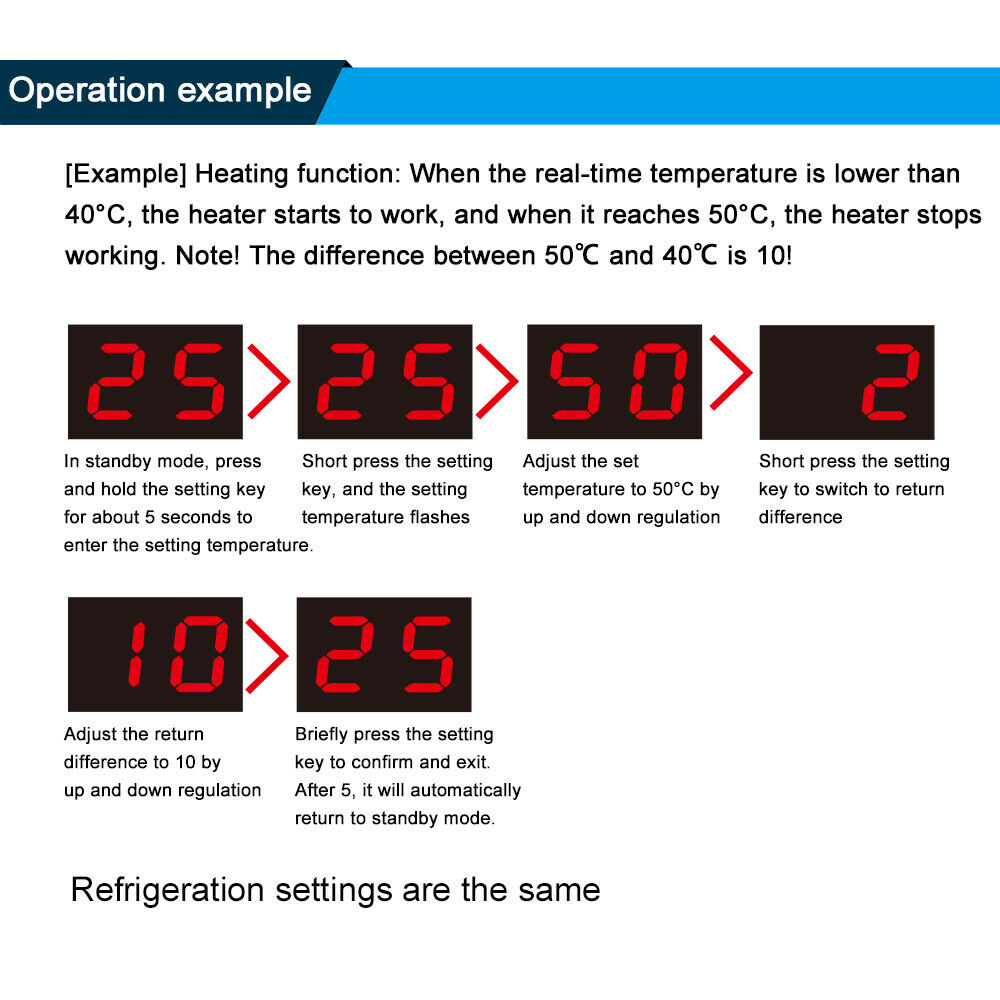
[example] heating function: when the real-time temperature is lower than 40 ℃, the heater starts to work. When it is heated to 50 ℃, the heater stops working. be careful! The return difference between 50 ℃ and 40 ℃ is 10!
In standby mode, press and hold the setting key for about 5 seconds to enter the setting temperature. Press and hold the setting key for a short time, and the setting temperature flashes. Press and hold the setting key for a short time to adjust the setting temperature to 50 ℃. Press and hold the setting key for a short time to switch to the return difference. Adjust the return difference to 10 through up and down. Press and hold the setting key for confirmation and exit. After 5 seconds, Automatically restore to standby mode.
Refrigeration settings are the same.
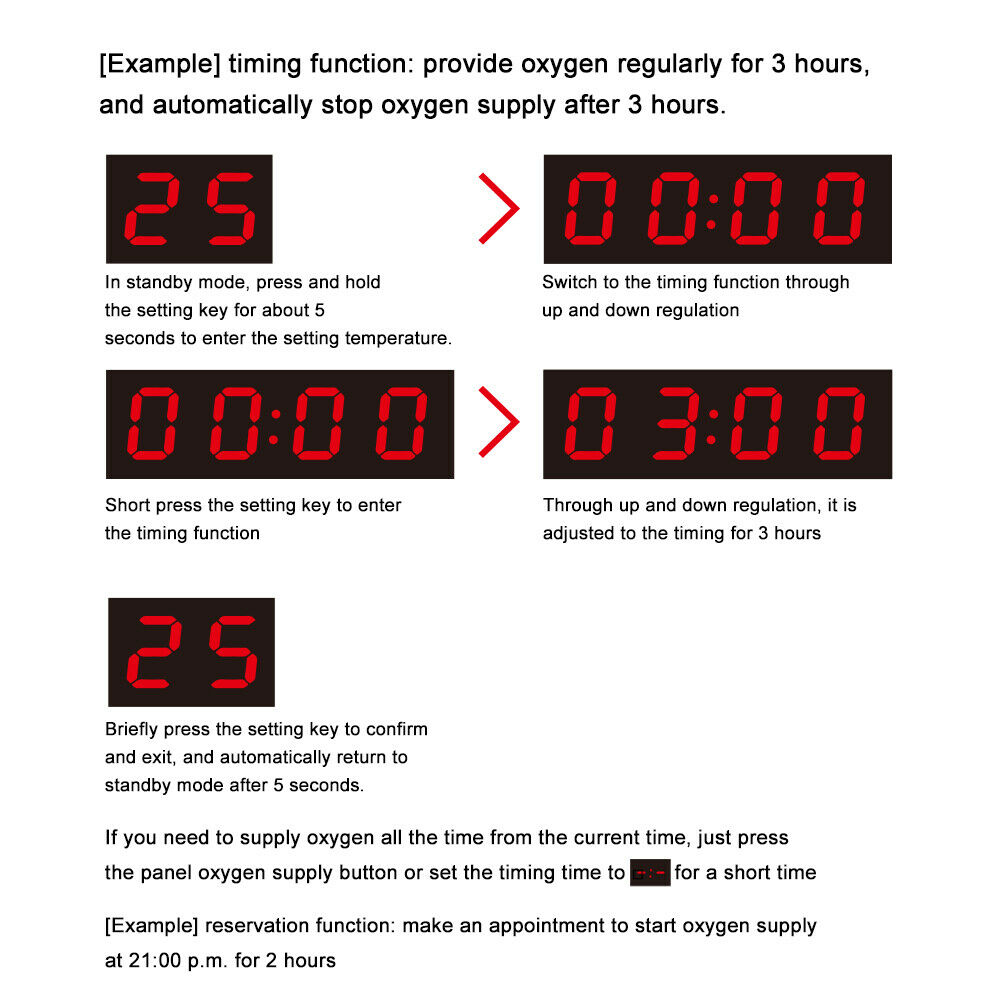
[example] timing function: provide oxygen regularly for 3 hours, and automatically stop oxygen supply after 3 hours.
In standby mode, press and hold the setting key for about 5 seconds to enter the setting temperature, switch to the timing function through up regulation and down regulation, press the setting key briefly to enter the timing function, adjust to the timing for 3 hours through up regulation and down regulation, and press the setting key briefly to confirm and exit. After 5 seconds, it will automatically return to standby mode.
If you need to supply oxygen all the time from the current time, simply press the panel oxygen supply button or set the timing duration to --: --.
[example] reservation function: make an appointment to start oxygen supply at 21:00 p.m. for 2 hours.
In standby mode, press and hold the setting key for about 5 seconds to enter the setting temperature, switch to the reservation function through up regulation and down regulation, and briefly press the setting key to enter the reservation function, adjust to 21:00 p.m. through up regulation and down regulation (hours and minutes are switched through the setting key) -- > after the reservation time is set, briefly press the setting key, switch to the reservation function through up regulation and down regulation, Adjust the reservation duration to 2 hours -------- > briefly press the setting key to confirm and exit. After 5 seconds, it will automatically return to the standby state.
If you need to start oxygen supply from 21:00 p.m., set the reservation duration in this process to --: --.
matters needing attention
If the real-time temperature displays EE and the buzzer alarms all the time, please check whether the sensor is inserted to the bottom.
Any wiring must be carried out in the power off state
Non professional personnel are not allowed to disassemble this product without permission to avoid unnecessary danger
The product does not have a battery. Customers need to bring their own cr1220 battery
detailed list:
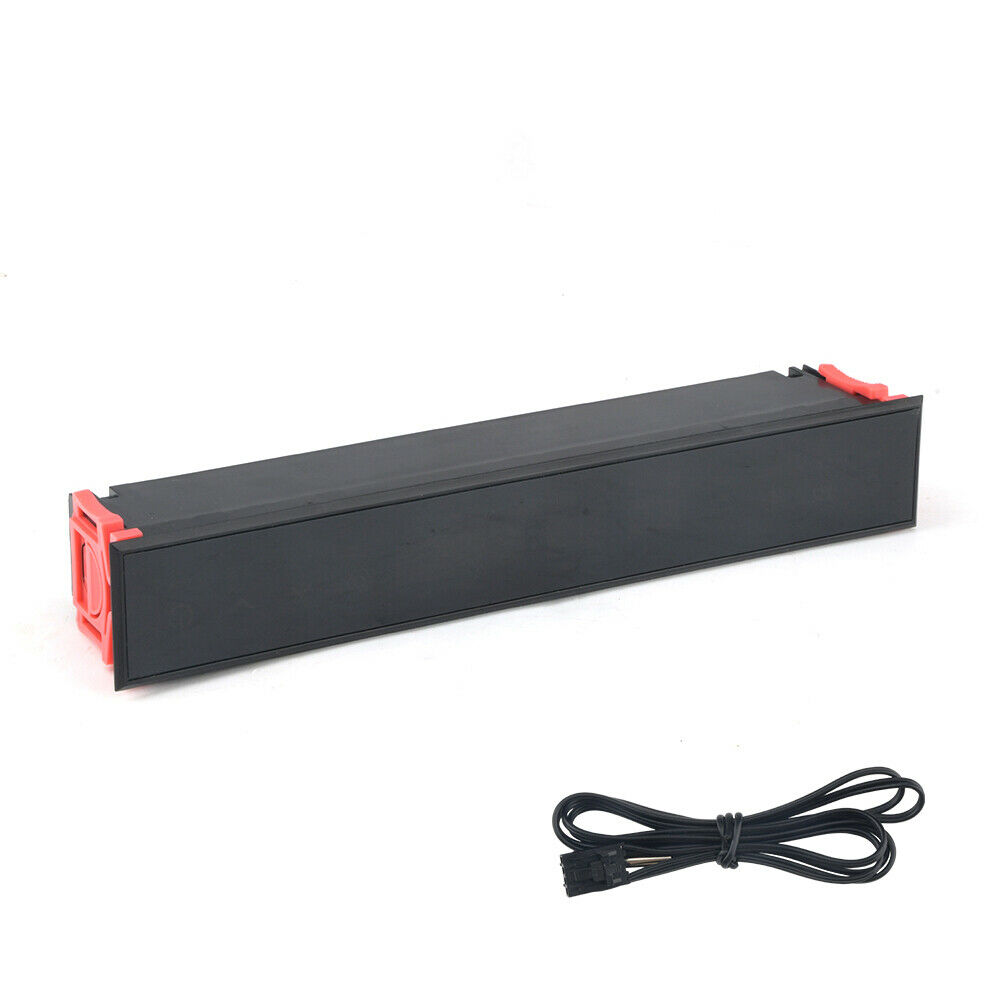
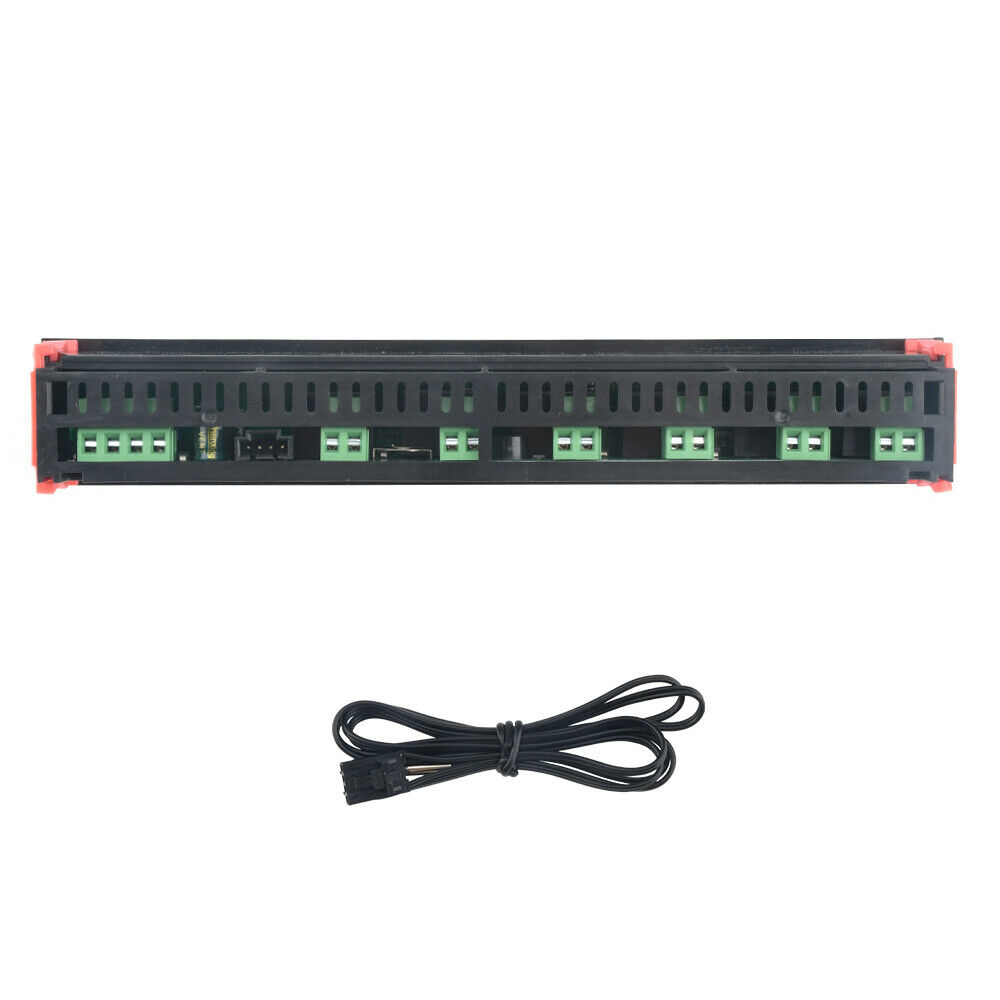
Thermostat * 1
Sensor wire * 1
Payment Method
Returns Policy
Feedback
Payment Method
1. PayPal payment accepted only.
2. Items will be shipped to your eBay address. Please make sure it is correct.
Returns Policy
1. Customer satisfaction is our top goal. We believe our items are so outstanding. All products are quality checked. They are new and in good condition when shipped to our customers. We are convinced you will be happy with your Purchase.
2. If product is defective or damage upon arrival, or wrong product shipped, please contact us immediately. Returns accepted within 14 days of delivery date and item must be in original new condition, not worn or altered in any way with attached tags & wrap. Otherwise deal is final. Return shipping must be paid by buyer.
3. Please contact us first if you have any problems/questions/concerns. We will be happy to resolve any issues you may have in a cordial and friendly manner.
4. We appreciate your Postive Feedback, and will do the same in return. DO NOT leave negative feedback without first communication with us. Please allow max 2 business days for us to response.
Feedback
When you satisfied with our product and services please leave us positive feedback.
If a problem occurs, contact us immediately with any email request. Just contact us using the " Ask the seller a question" link on eBay.
Am 22.09.21 hat der Verkäufer die folgenden Angaben hinzugefügt:
